
Blog Post by: Carina Berglund, Dietetic Intern
Many people think that shopping local is more expensive than conventional grocery stores, but that is not always the case! Here are some tips to help you shop your local farmer’s markets and farm stands while staying on a budget and getting the most use out of your purchases.
– Plan Ahead
One of the best ways to save money at a farmer’s market or farm stand is to go there with a plan. Before you go, take some time to think about when you plan on shopping for food next and what you already have that needs to get used. With that in mind, create a food plan for now until your next shopping trip, focusing on creating meals around the foods that will spoil first. Add the additional items you will need to your shopping list to keep you on track at the market. Planning ahead helps to keep spending low and also decreases household food waste!
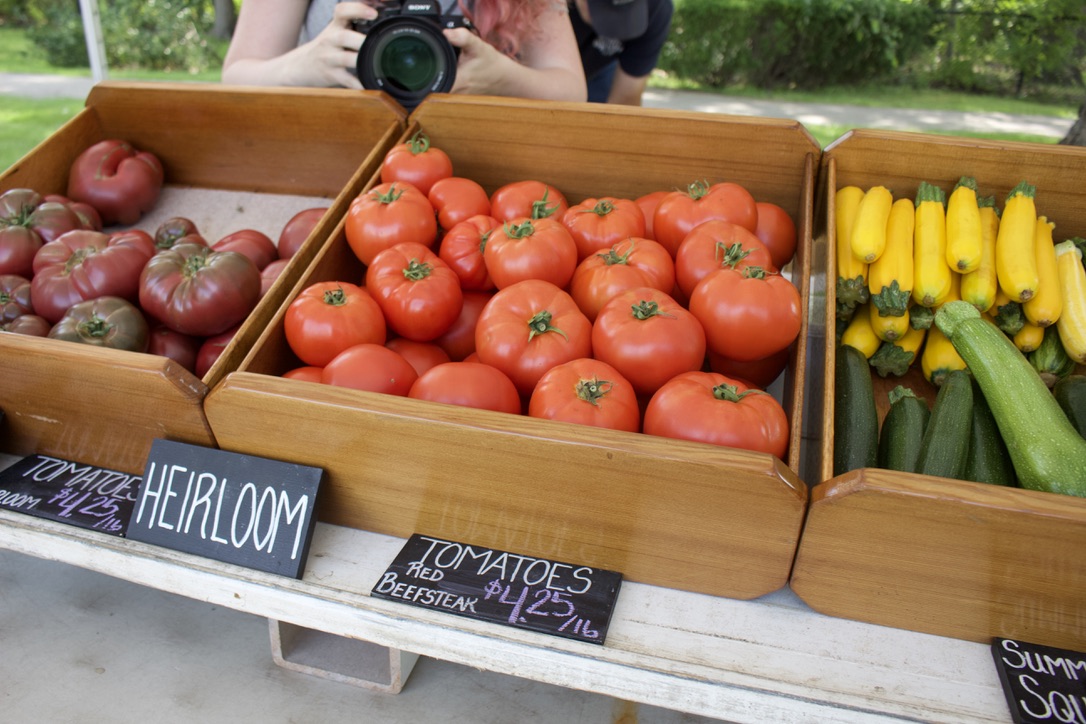
– Shop Around
Another way to shop farmer’s markets on a budget is take a few minutes when you get there to walk around and see not only which stands have what you need but also which ones have each of the items on your list for the lowest price. Once you find the vendors that have what you need at the best price, go back and make your purchases. Oftentimes, vendors will have different prices form each other for different items, so while one might have the best price on tomatoes, another one might have the best price on squash. By spreading your shopping over multiple different vendors, you can get what you need at a low price while also supporting all of your favorite farms in one trip!
– Look for Seconds
Many farms will have a section of “seconds” which are produce that may not be picture perfect but are still perfectly acceptable to eat. These fruits and veggies are sold at a discounted price. They can be eaten fresh, or they are great options to use in canning.
What to do with Extra Food
-Freeze Fruits and Veggies to Use Later
If you notice some food is starting to get to the end of its shelf life, a great way to preserve it for use later is to freeze it! Veggies will store better in the freezer if cooked first. The easiest way to do this is to boil them until cooked and immediately place in cold water until they are cooled off. Once cool, put the vegetables in an airtight container or a sealed freezer bag until you are ready to eat them.
Fruit does not need to be cooked before freezing, just put into an airtight container or sealed freezer bag. You can even freeze a mix of fruits ahead of time for single serve smoothies on the go!
There are two ways to freeze fresh herbs. Dry them on a paper towel for 24 hours and place in the freezer in an airtight container or freezer bag. You can also freeze fresh herbs by putting them in an ice tray with a little bit of water. Then, you just pull out a cube and add it to season your dish!
– Make Meals to Freeze
Another way to save food that may otherwise go bad is to make a meal with it that you will freeze to eat later. Soups are a great way to use lots of fresh seasonal veggies in one meal! Chop up whatever is at risk of going bad and add it to a pot with some broth and the grain of your choice for a delicious meal you can enjoy later. Freeze it in single or family sized containers and reheat on the stove or microwave when you are ready to eat it.
– Pickling
If you want to learn a new skill, another way you can preserve your vegetables to extend their shelf life is to pickle them. The best vegetables to do this with are cucumbers, carrots, green beans, beets, and red onions. For the quick pickling method, simply cut up the vegetables and place into a clean wide-mouth pint jar, leaving half an inch of space at the top with your desired herbs and spices. Then bring 1 cup of water, 1 cup of vinegar and 1 tablespoon of salt to a boil until everything is dissolved. Pour the brine over the vegetables leaving a half inch at the top. Tightly screw on the lid, allow the jars to come to room temperature, and place in the refrigerator for 48 hours. For more information on canning and pickling click here.
Recipes
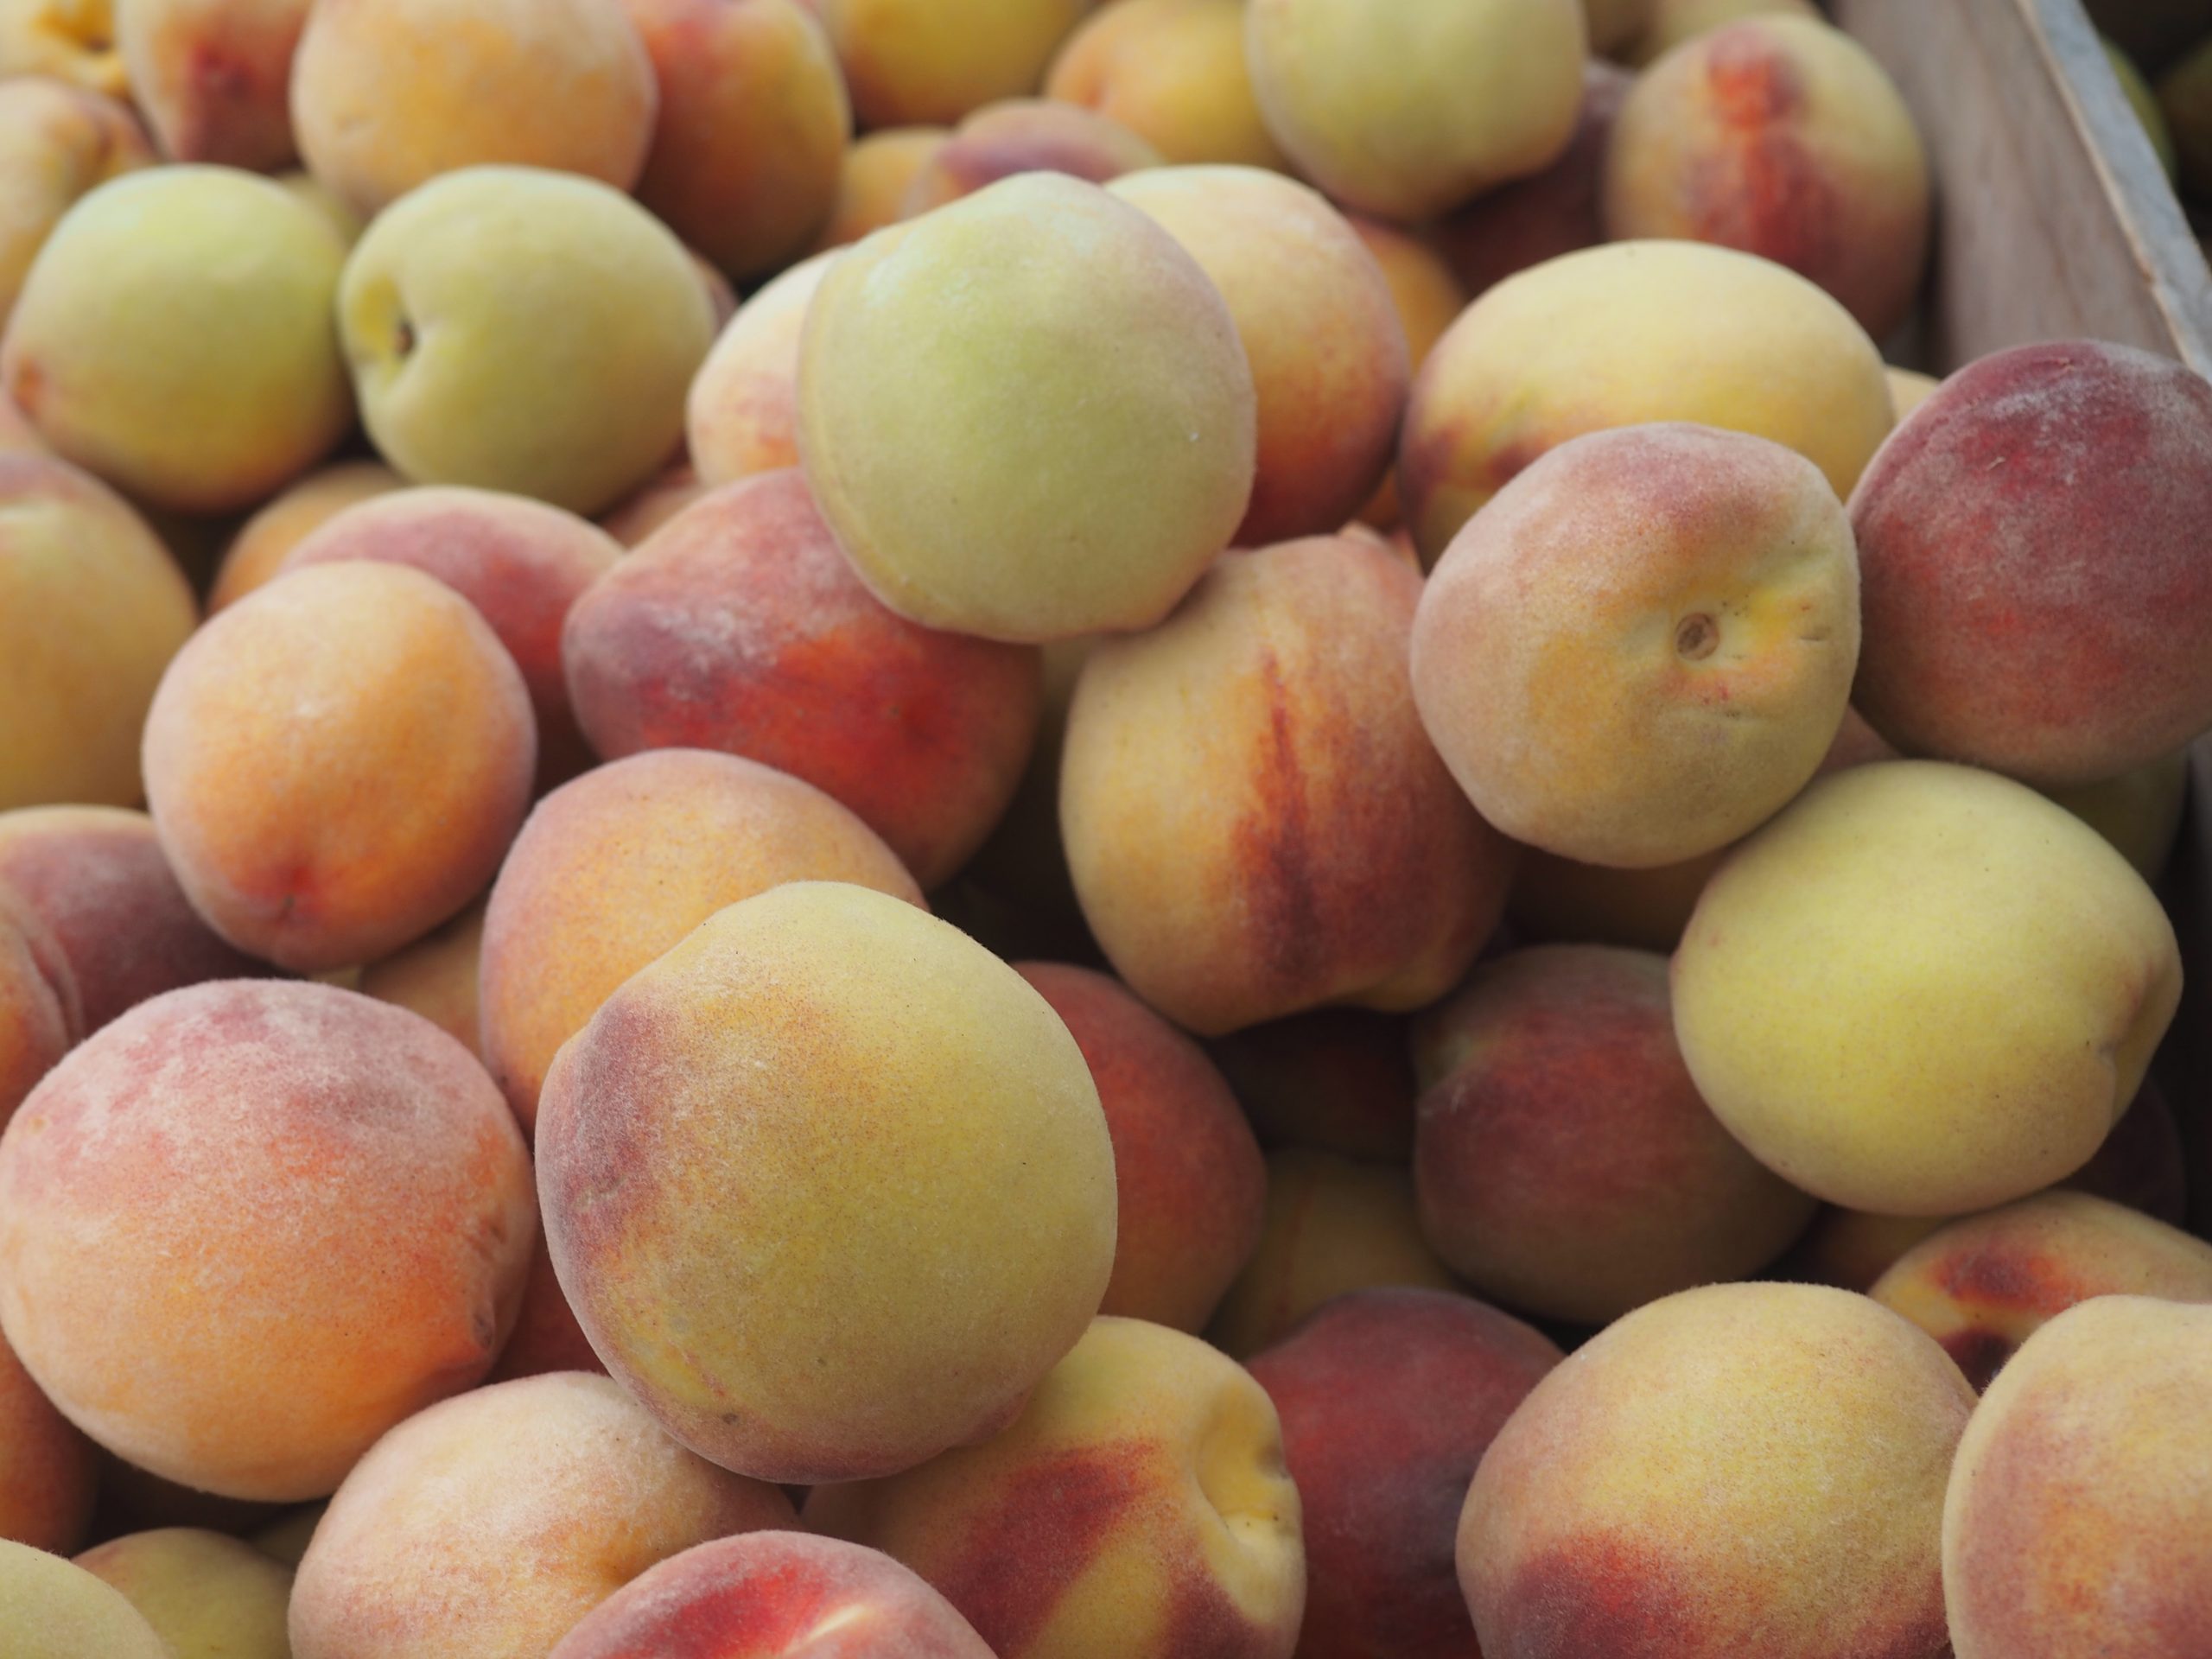
One of the best ways to use up lots of fresh local products and is always a crowd favorite is a fresh salsa. Plus, it is an extremely flexible recipe so you can modify it to use ingredients you already have at home. Peaches and tomatoes are in season right now and they are the perfect base for delicious summer salsa.
Summer Peach Salsa
3 medium peaches, diced (can substitute 3 tomatoes)
1/2 bell pepper, diced
1/3 cup diced red onion
Juice of 1 lime
1 jalapeno, minced (optional)
Salt and pepper to taste
Simply mix all of the ingredients together in a bowl and refrigerate until you are ready to use. Serve it with a side of chips, as a topping on grilled chicken salads, or with any dish to add a pop of color and flavor.
This grilled summer squash recipe is perfect for grilling on a hot day, but you can also make it in your oven as well. Instead of putting the squash on the grill, cook them in a 350-degree oven under tender.
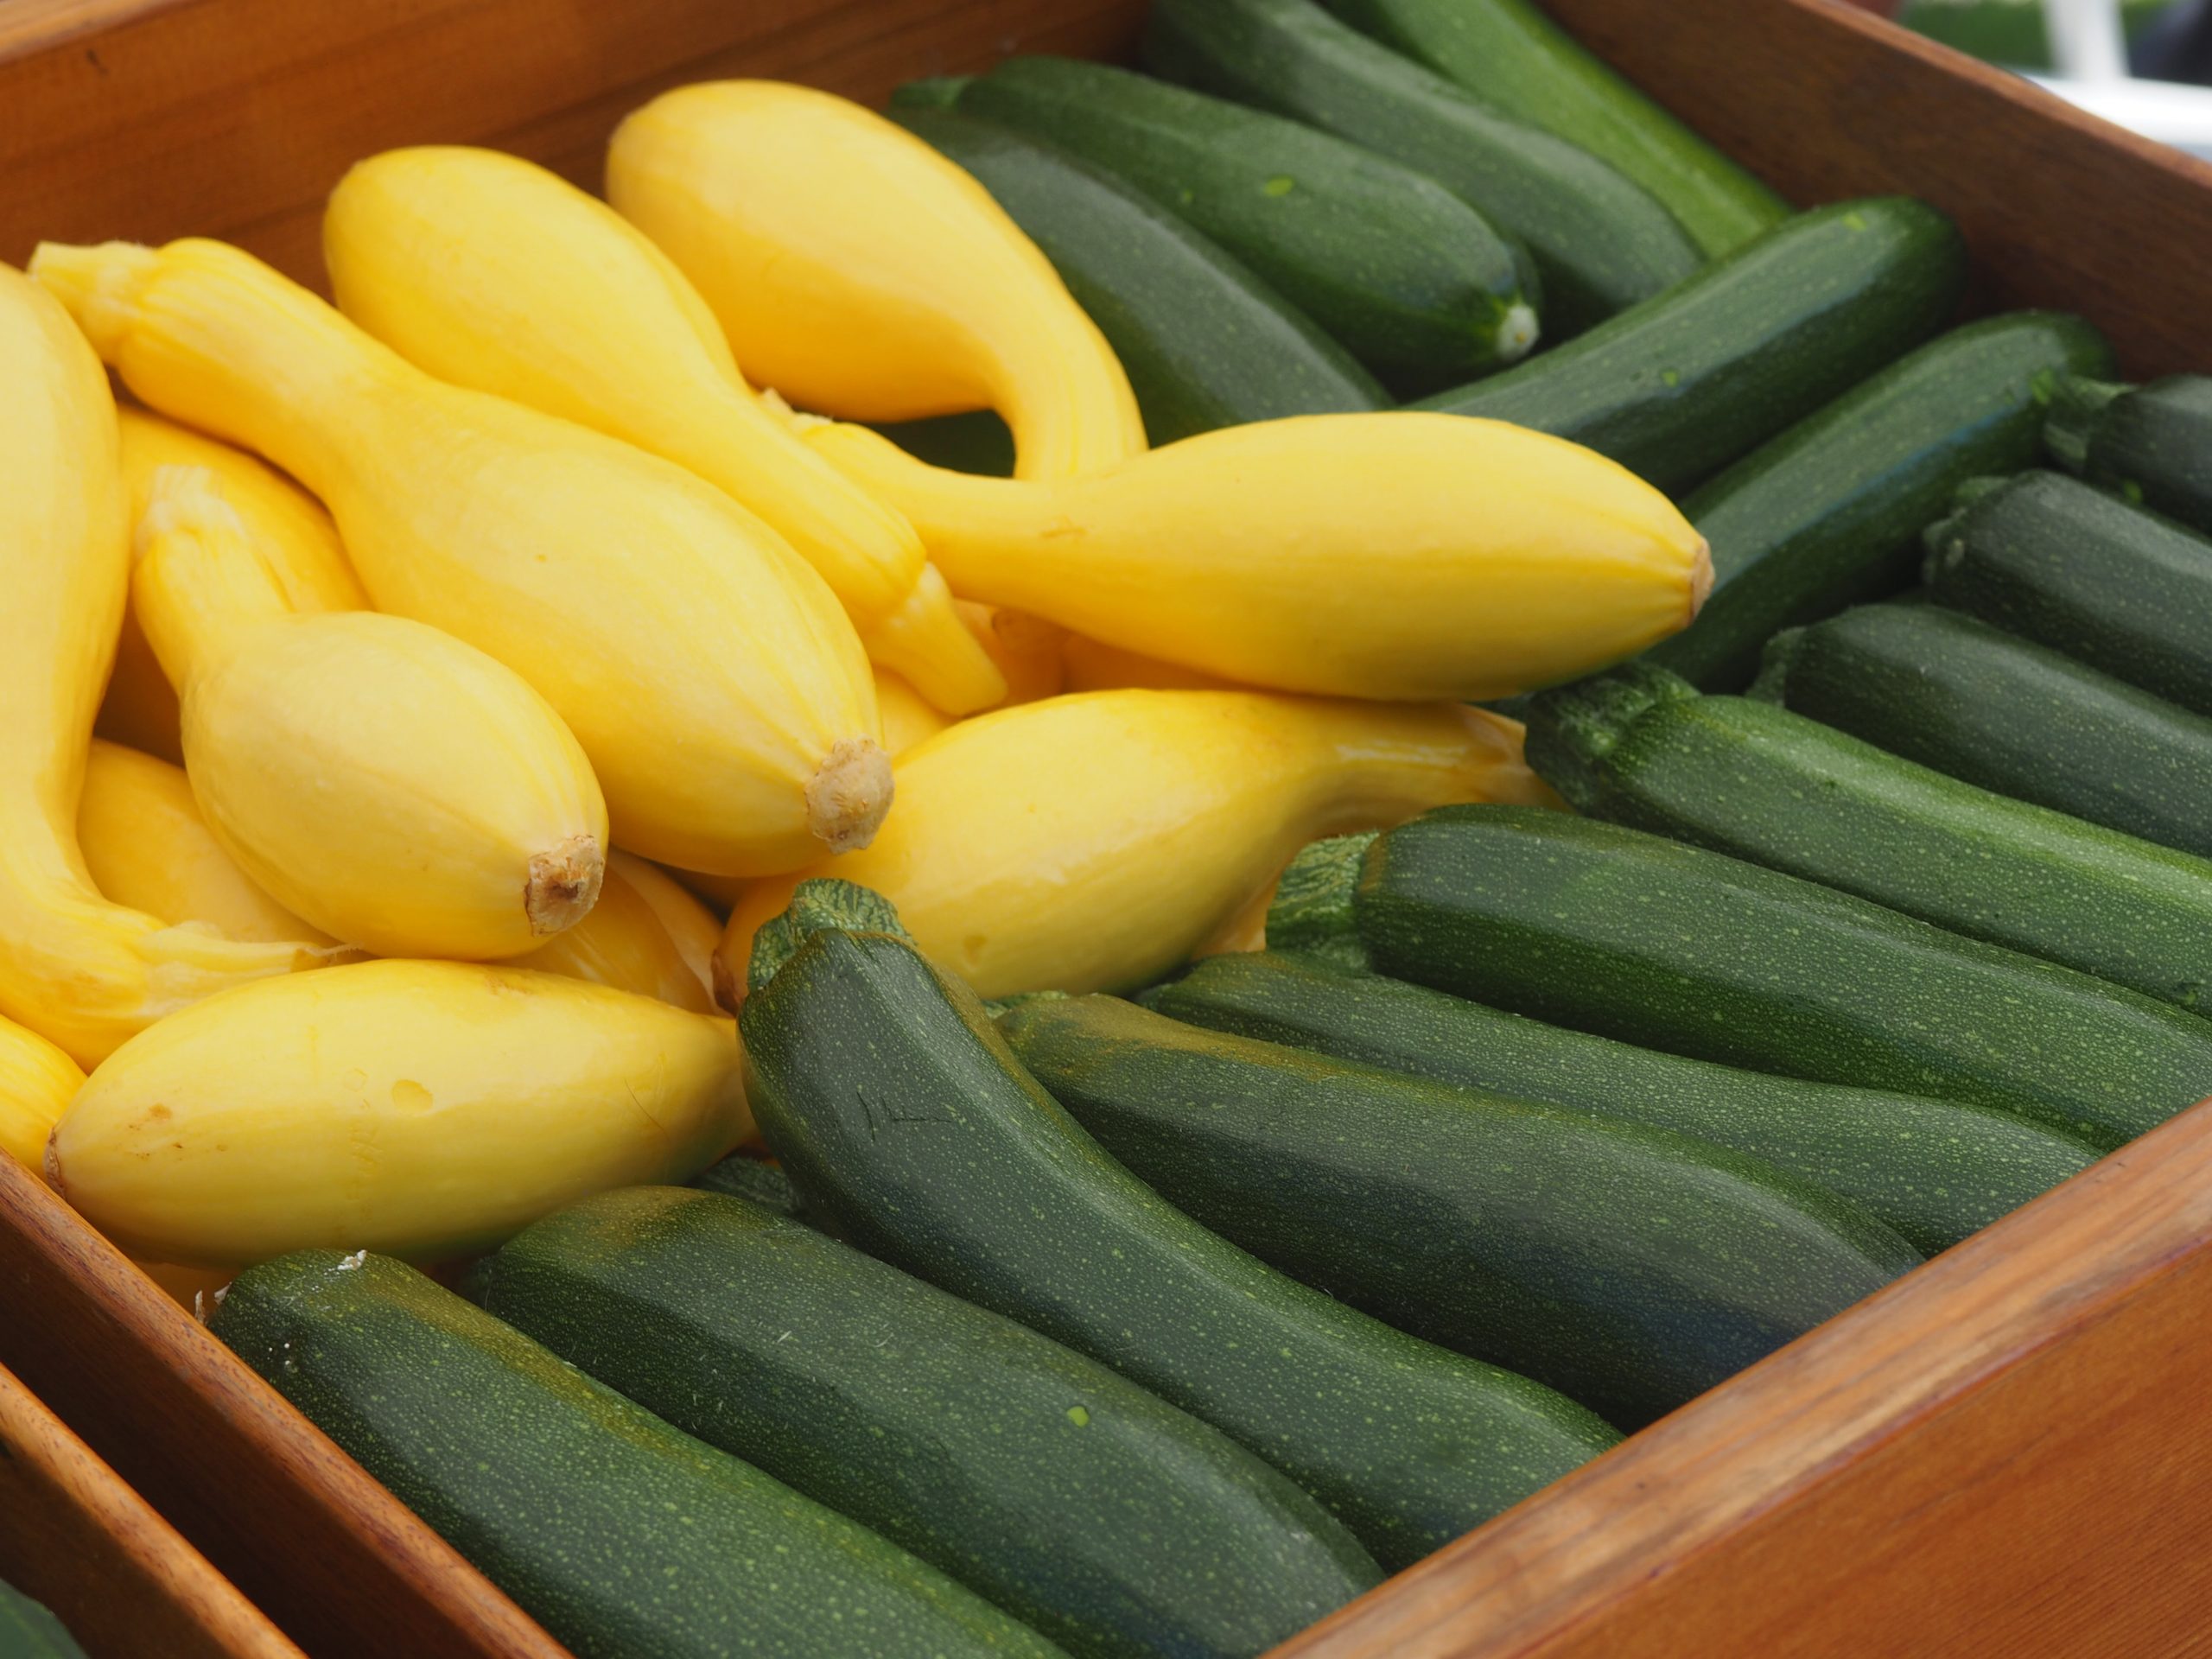
Grilled Stuffed Summer Squash
4 teaspoons olive oil
1 bell pepper, diced
1 cup chopped onion
1 cup quartered cherry tomatoes
¼ cup chopped basil
4 summer squash (or any squash you have on hand)
Shredded cheese (optional)
Salt and pepper to taste
1. Preheat grill for indirect heat on one side
2. On a skillet over medium heat, add 2 teaspoons oil, bell pepper, onion, and salt and pepper to taste. Cook, stirring often until the vegetables are soft and turning brown, about 5 minutes. Then remove from heat and add tomatoes and basil
3. Cut the squash in half lengthwise and remove the seeds with a spoon. Brush the remaining 2 teaspoons of olive oil over the squash
4. Place the squash cut side down on the hot side of the grill until they start to soften, for about 5-8 minutes. Then flip them over cut side up onto the nonheated half of the grill. Divide the cooked vegetable filling between the squashes and sprinkle with shredded cheese.
5. Cover the grill and cook until the squash is tender, for about 15-18 minutes.